Furax
Description

Furax is a set of ICE compound for grooming hairs from polygon surface and volume.
Furax was originaly develloped at Ellipsanime Studio and used on the TV series The Linkers and Boulle & Bill.
It s composed of four objects: a polymesh emitter, a polymesh cage, a guide point cloud and a render point cloud.
In the end only the render point cloud is used at rendering stage.
We animate the hairs via simulation and/or rigging of the cage object.
It s a solid but not accurate framework for animation of hairs , as they will be move per packet instead of per fiber.
Special thanks to Ronald Van Vemden alias Toonafish for the Donald Trump head model.
Download
Installation

Furax is packaged as a workgroup.
Go to plugin manager and connect to Furax_Workgroup folder.
Refresh the plugin manager.
There is a custom toolbar Furax, to help setting up objects.
You can find the compounds under the Furax tag.
Usage
Emitter

The emitter is a regular polymesh object.
There are several weight maps on it:
- Density_Map : control the density of the render hairs
- Size_Map : control the size of the render hairs
- Frizz_Map : control the Frizz Compound
- Cut_Map : control the Cut Compound
- Clump_Map : control the Clump Compound
- Clone_Map : control how much each hair will be cloned by the Cloner Compound
- Spread_Map : control the spreading of the clones
- SpreadRoot_Map : control the spreading of the roots of the clones
- SpreadTip_Map : control the spreading of the tips of the clones
Use the "SetupEmitter" button on the Furax Toolbar to set up the emitter object.
Cage

The Cage or Guide Mesh is also a regular polymesh object.
This one takes more attention.
We need to create first a cluster named "Root Vertices" describing the emit points.
We then call the "SetupCage" button ont Furax Toolbar to set up two ICE Trees:
one previous deformation named "Furax Mesh Init" and one in secondary shape, after all deformation named "Furax Mesh Set".
Hair Guide
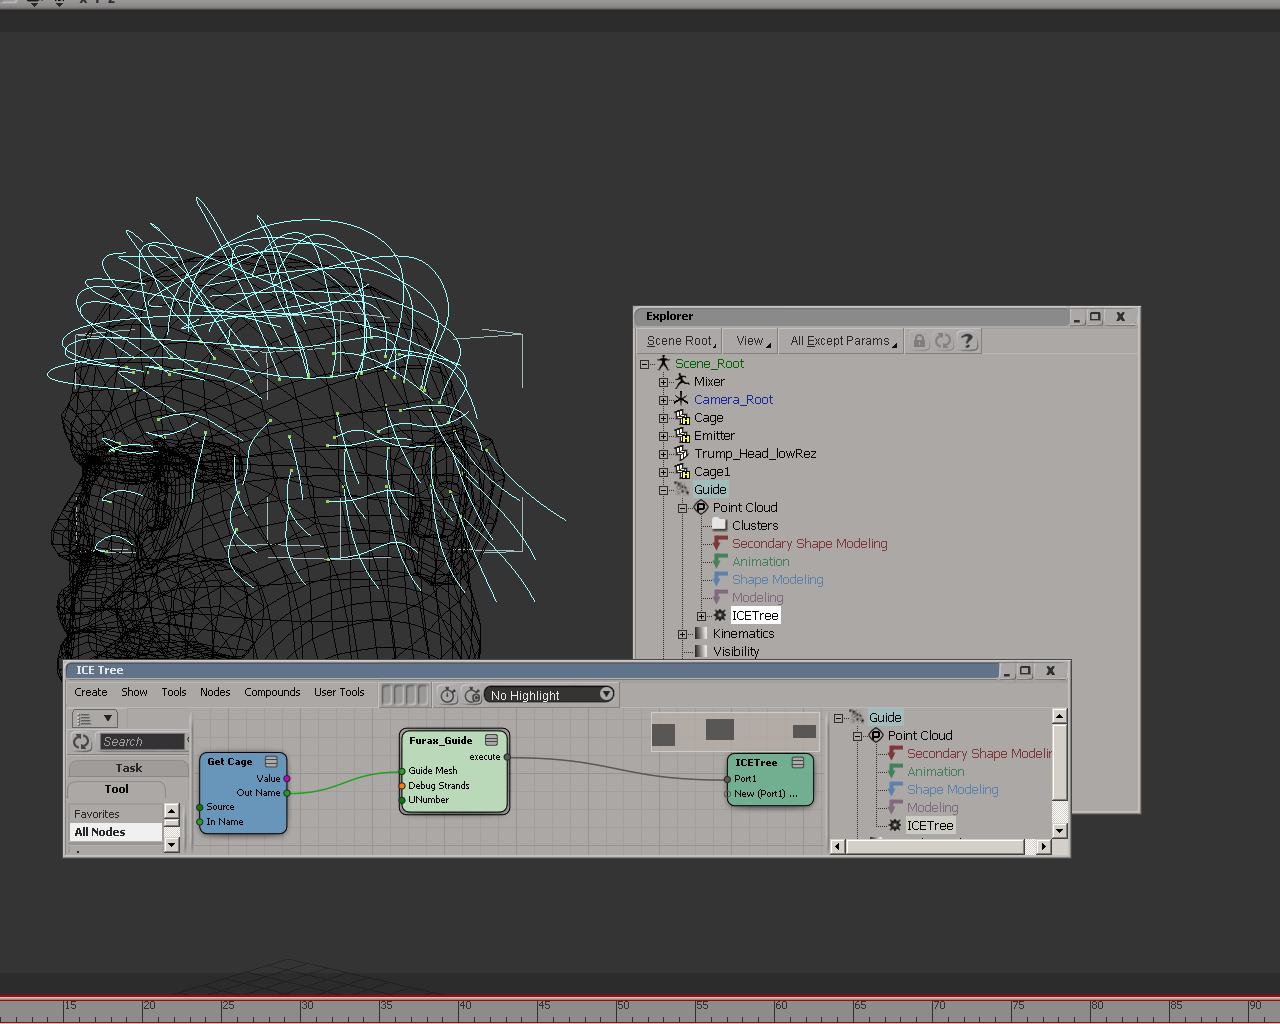
From those Root Vertices, we walk the mesh, creating guide strands.
The Guide Point Cloud has one ICE Tree "Furax_Guide", with input the cage object.
Use the CreateGuide Button on the Furax Toolbar.
Hair Render
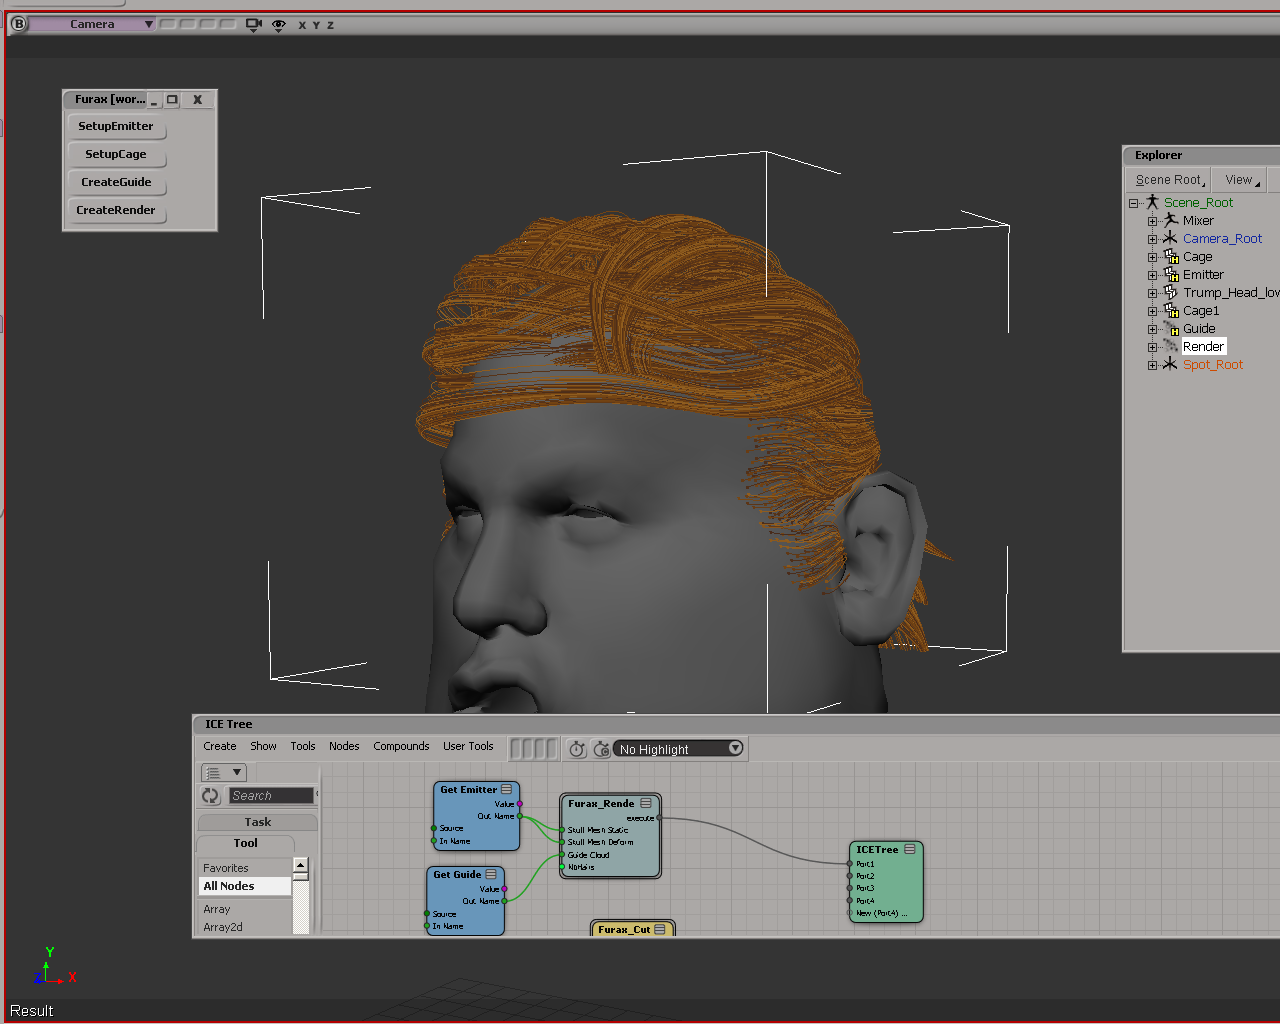
The Render Point Cloud has one ICE Tree "Furax_Render", with input a static emitter object, a deformed emitter object and the Guide PointCloud.
Use the CreateRender Button on the Furax Toolbar. It will launch a pick session to select inputs.
Hair Modifiers
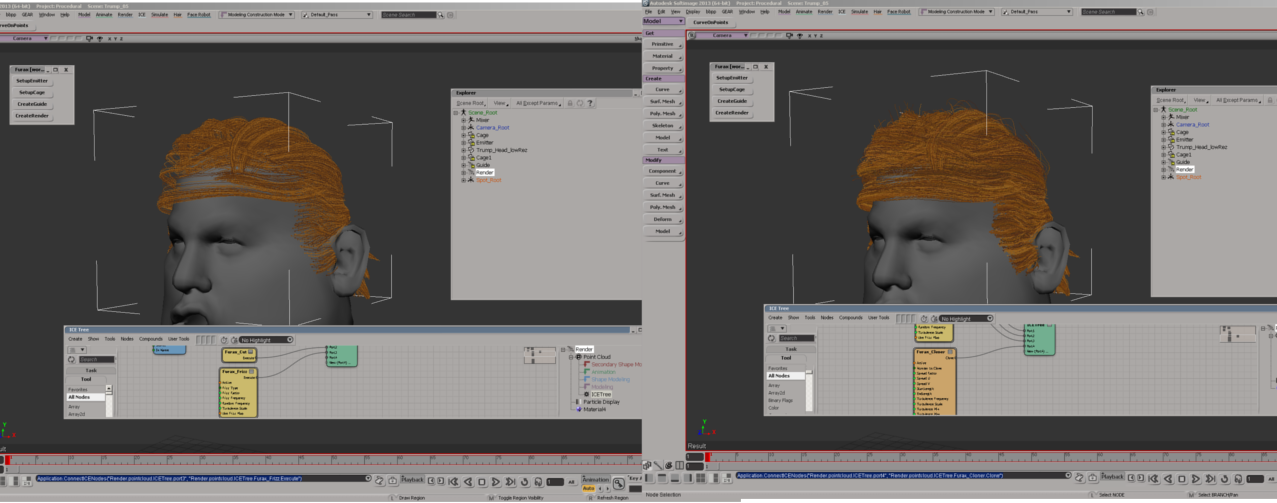
Several Modifiers can be applied on the Render PointCloud.
"Furax_Cut" to shorten and/or randomize Hair length.
"Furax_Frizz" to frizz hairs
"Furax_Clump" to clump hairs
"Furax_Cloner" to clone hairs
WeightMaps on the emitter object drive those compounds.
